How to Install the Urine Drain-Away Kit
In short
The Urine Drain-Away Kit sends liquids from Cuddy, Cuddy Lite or the S1 straight out through a hose to a grey water tank or a French drain, so there's no urine bottle to empty. It's a permanent install: screw the toilet to the floor, fit the bracket and two-part drain, then drill through the base with a hole saw for the 5/8 in hose. Always do a dry fit before you drill, and check under the vehicle or floor first.
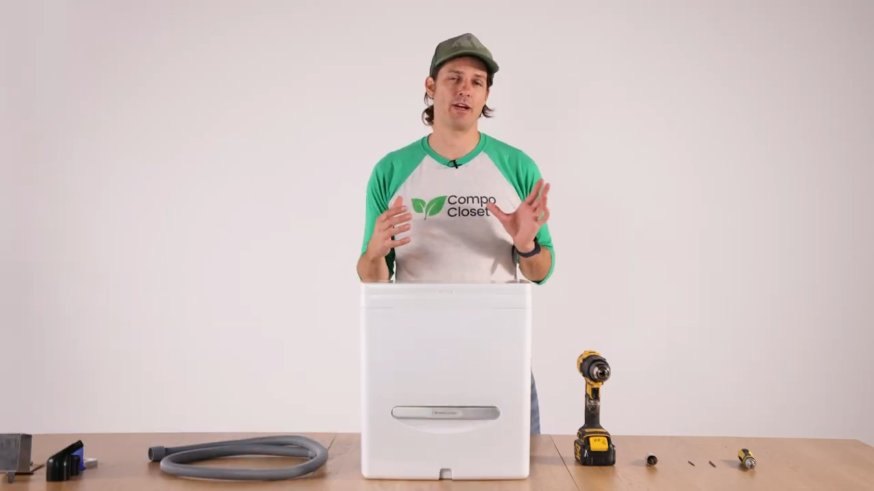
Fitting your CompoCloset permanently and tired of emptying the urine bottle? The Urine Drain-Away Kit sends liquids straight out through a hose to a grey water tank or a French drain. You're no longer limited by the 6.5 litre bottle, and there's no bottle to overfill.
This is a permanent install and it involves drilling, so read through the steps before you start.
The kit is compatible with Cuddy, Cuddy Lite and the S1.
What You'll Need
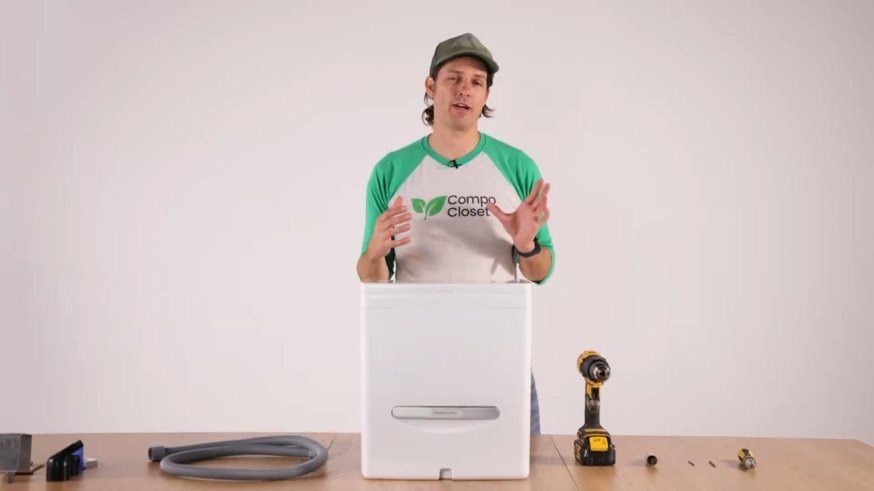
- Power drill: For the pilot holes and the drain hole
- Hole saw, 3/4 in or 1 in (19 mm or 25 mm): Gives clearance for the 5/8 in hose
- Pilot drill bit: For starting screws in plastic so they don't wander
- 3.5 mm drill bit: For the mounting holes in the central rib
- Phillips screwdriver: For the stainless steel screws and bolts
- Drainage hose, 5/8 in (16 mm) flexible: Not included in the kit
- 1/2 in Schedule 40 pipe fitting (optional): If you're plumbing in rigid pipe
- Silicone or waterproof glue: To seal the drain assembly
What's in the Kit
- Mounting bracket
- Two-part drain assembly: The top half fits the bracket and the bottom half takes the hose or pipe
- Hardware envelope: Non-magnetic stainless steel screws and bolts
- Hose clamp: Secures the hose to the lower adapter
- Blue valve
Before You Start
- Secure your Toilet: This kit is recommended for permanent installs. Screw your CompoCloset to the floor using the four eyelets in the base, so it can't move and stress or kink the hose. Here's how to secure your CompoCloset toilet.
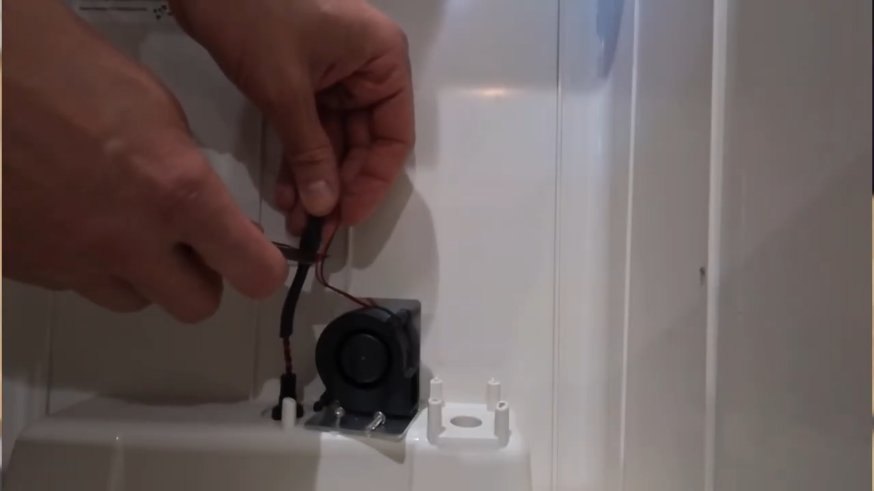
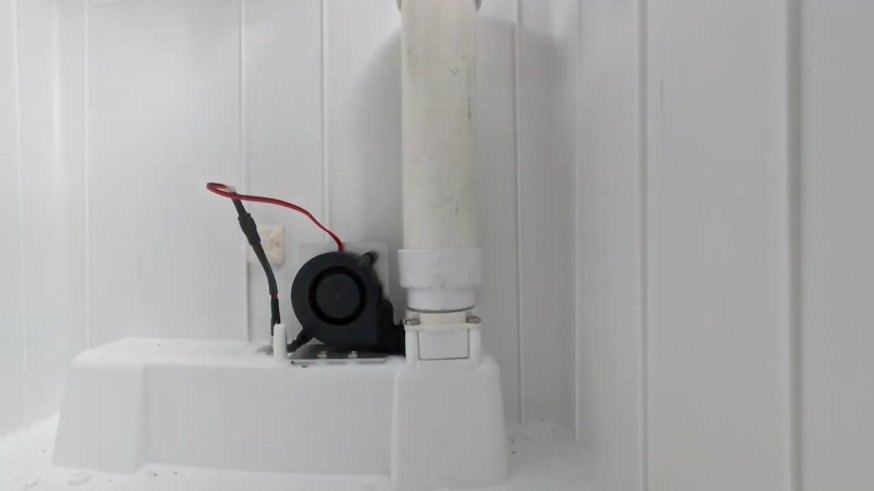
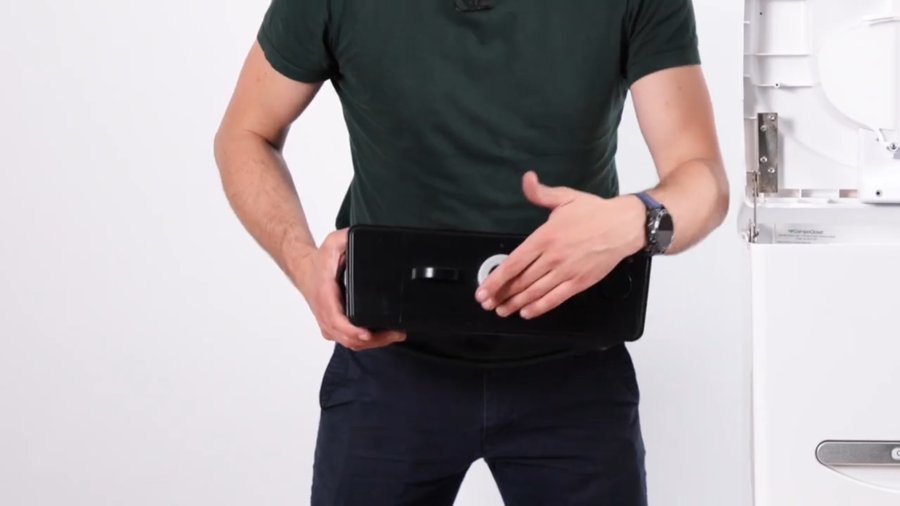
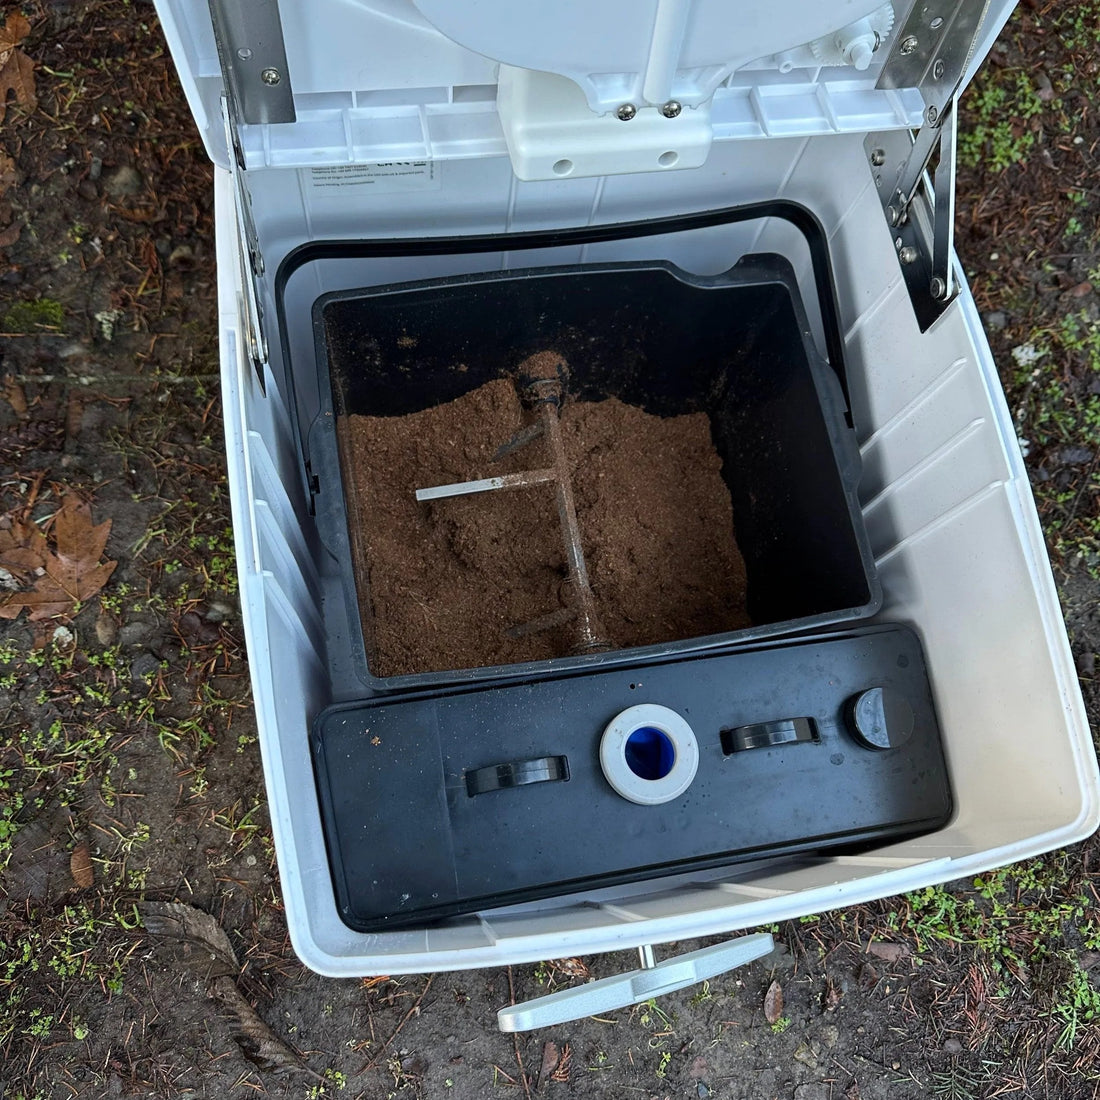
- Clear the inside: Open the unit and remove the solids bin, the fan and the urine bottle.
- Find your reference points: Locate the carbon filter housing and the central rib. You'll line the bracket up against these.
- Leave the agitator handle in place: The kit is designed to clear the handle as it turns.
How to Line Everything Up
Snap the top half of the drain assembly into the bracket. It takes firm pressure to click into place.
Position the assembly so it's dead centre.
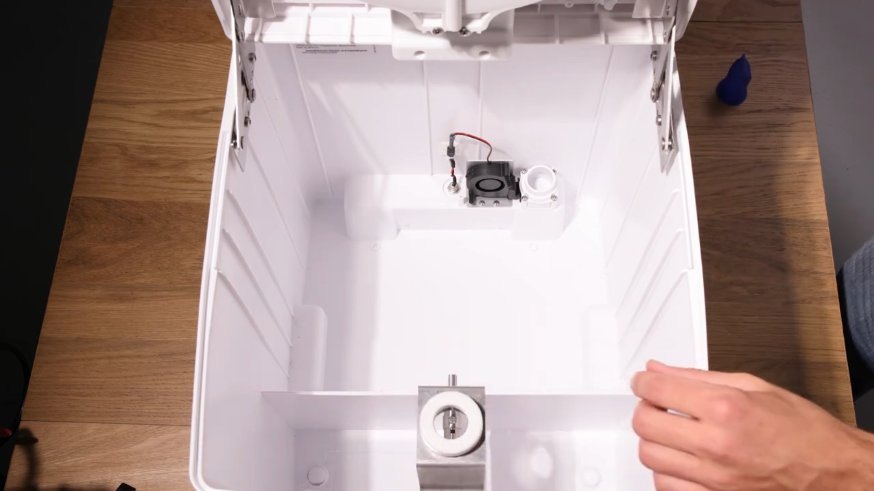
Cuddy's plastic shell can arrive slightly out of shape after shipping or temperature changes. If you need to, flex the plastic walls open a little by hand so the front edge of the bracket sits completely flush with the front of the seat housing.
Always do a dry fit before you drill. Put the top seat ring back on, close the lid, and check that the drain assembly doesn't catch on the seat or get in the way of the lid's seal.
How to Mount the Front of the Bracket
The front of the bracket fixes to the vertical plastic wall behind the urine bottle area.
- Mark the holes: Use the bracket's front holes as a template.
- Drill pilot holes: Drill two shallow pilot holes, keeping the drill as level as you can. It's a tight space, so go for accuracy over depth.
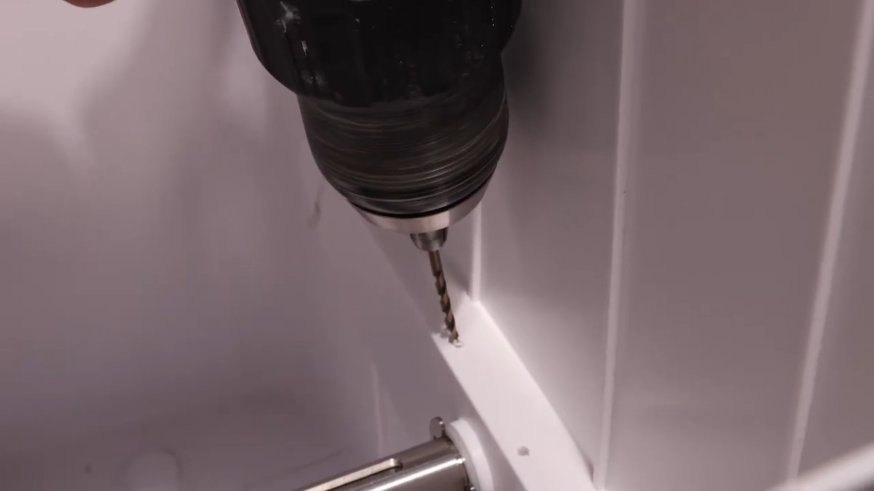
- Drive the screws: Drive the stainless steel screws horizontally into the vertical plastic wall.
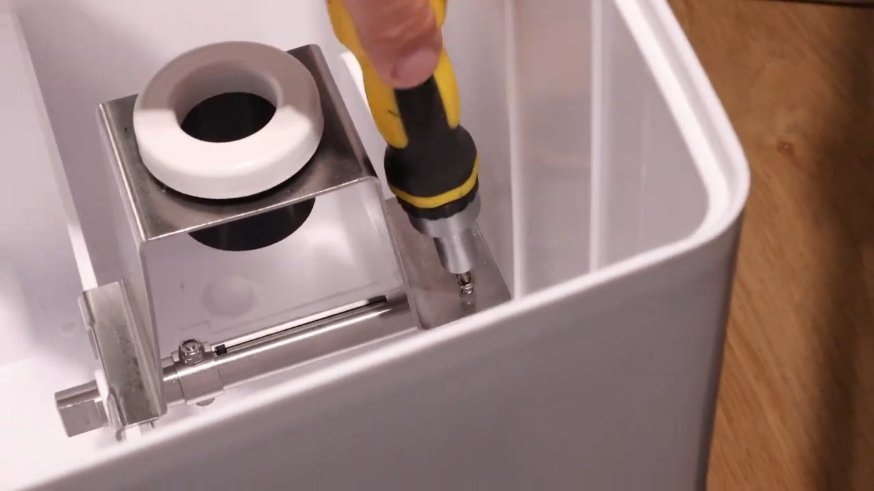
The screws are non-magnetic stainless steel, so they won't stay on a standard bit. A small dab of grease or mounting tack on the screwdriver tip will hold the screw while you get it started.
How to Fix the Back of the Bracket to the Central Rib
The back of the bracket carries the weight of the hose.
- Drill: Using the bracket itself as a template, drill two holes through the central rib with the 3.5 mm bit.
- Insert the bolts: Pass the bolts through the bracket and the rib from the bin side.
- Fit the nuts: Reach into the urine bottle side of the unit and thread the nuts onto the bolts by hand. Then tighten with your screwdriver from the bin side.
How to Assemble and Seal the Drain
The lower drain half can point to the left or the right of the central agitator shaft. Choose the side that gives you the most direct route to where the hose will exit.
- Apply a thin bead of silicone or waterproof glue to the inner flange of the lower drain half.
- Press the lower half onto the upper half.
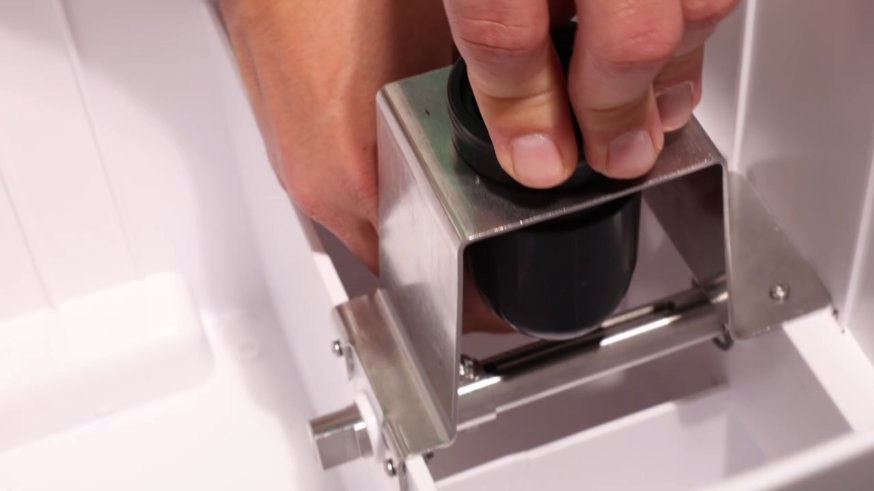
- Take the one-way valve from your urine bottle cap and snap it into the top of the drain assembly.
How to Connect and Route the Hose
- Check what's underneath: Before you use the hole saw, look under the vehicle or floor and make sure the drill path is clear of frame rails, fuel lines and wiring.
- Drill the base: Use the hole saw to drill through the base of your Cuddy at your chosen exit point.
- Get the hose ready: Slide the hose clamp over the 5/8 in hose.
- Snug the clamp: Tighten it until it's snug on the hose but can still slide with a little resistance. That stops it flopping around while you reach for the adapter.
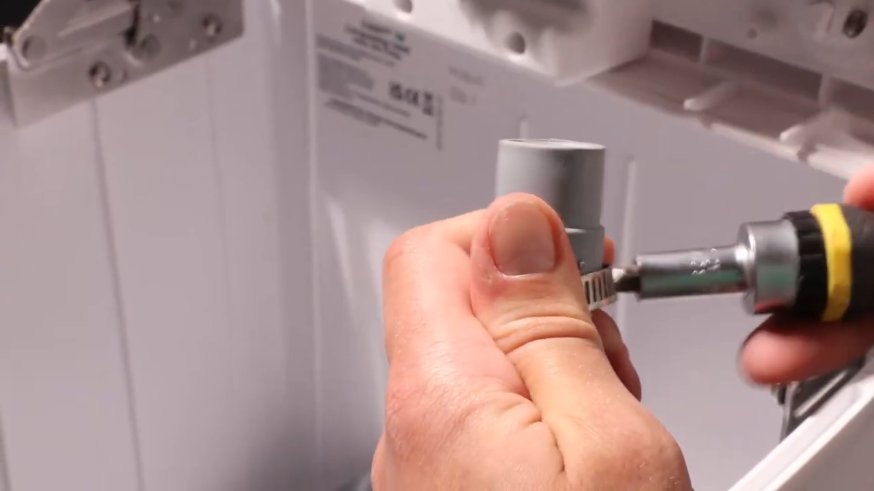
- Secure the hose: Slide the hose onto the drain adapter and fully tighten the clamp.
Final Checks
Route the hose through the base to your drain point, then put the fan and the solids bin back in.
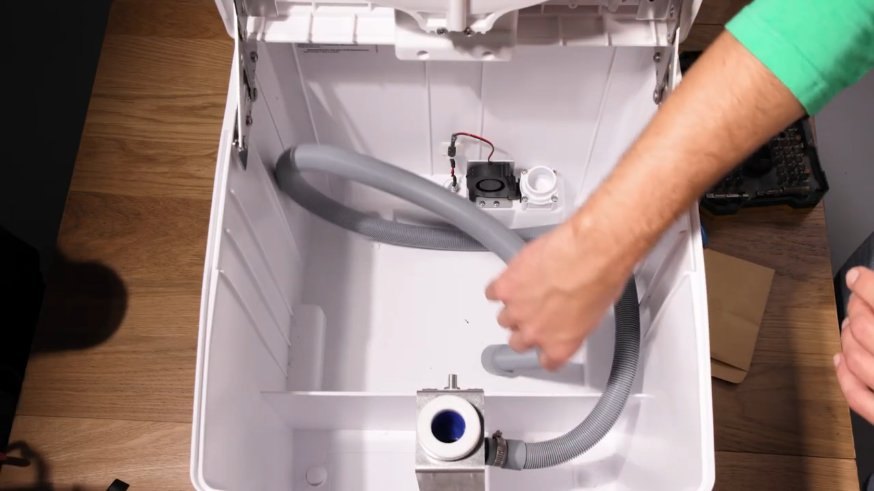
Before you call it done:
- Check there are no kinks in the hose.
- Slide the solids bin in and out. It should move smoothly without catching on the hose clamp or the new drain.
That's it! No more emptying the urine bottle.
Something not lining up? Contact us and we'll help you get it sorted.