How to Replace the Cuddy Fan Kit
In short
Swap Cuddy's fan with the Replacement Fan Kit when it gets noisy or stops moving as much air, using a Phillips #2 screwdriver, wire cutters or a sharp knife, and a heat gun or long-armed lighter. Take the whole bracket out, fit the new fan on the longer vibration-dampening fasteners, then seal the connection with heat shrink tubing. Finish by trimming the fasteners flush against the second barb so the solids bin slides in and out without snagging.
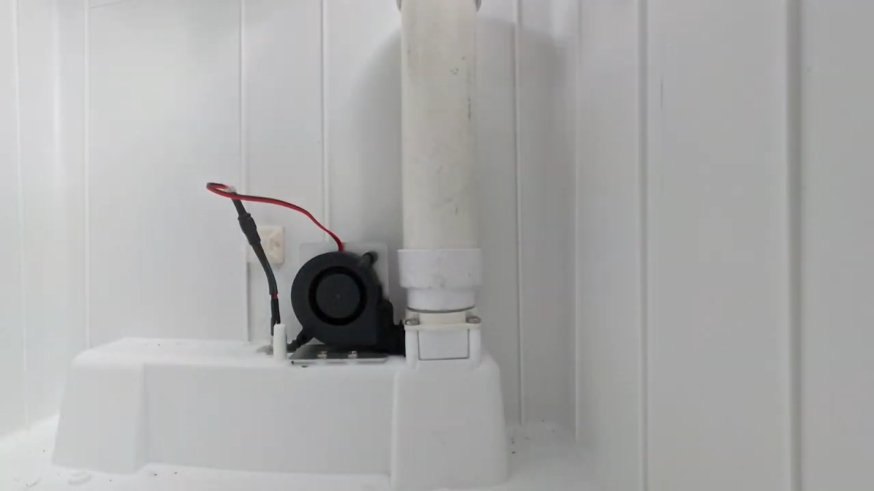
Is your Cuddy's fan getting noisy, or not moving as much air as it used to? The fan keeps moisture and odours under control, so it's worth swapping when it starts to wear. The Replacement Fan Kit has what you need, and you can do it yourself.
Find a clean spot to work first. There are a few small parts to keep track of.
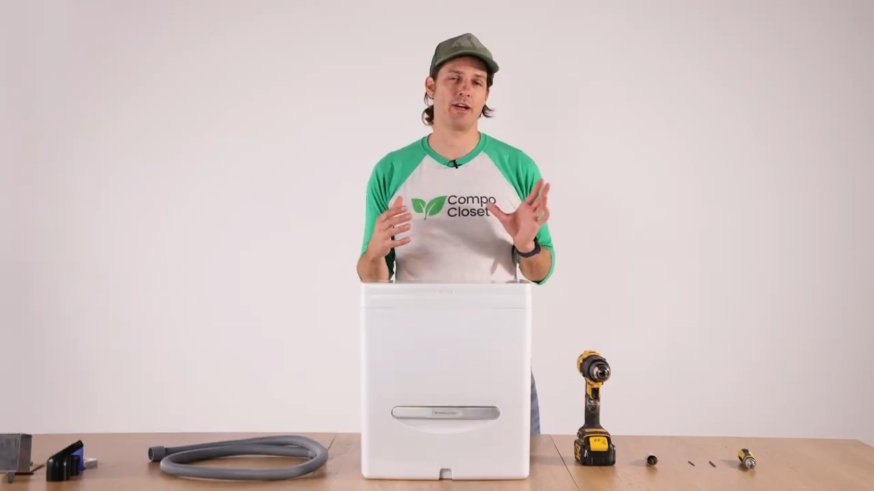
What You'll Need
Tools:
- Phillips #2 screwdriver (the right size matters here, so you don't strip the screw heads)
- Wire cutters or a sharp knife
- Heat gun or long-armed lighter
In the kit:
- Replacement fan
- Replacement cap
- Replacement cable tie
- Heat shrink tubing
- Two vibration-dampening fasteners
The replacement cap is a spare for the ventilation housing. If your current cap isn't damaged, keep the new one with your spare parts.
The heat shrink tubing seals the electrical connection much better than electrical tape, which matters inside a composting toilet where there's moisture around.
How to Remove the Old Fan
It's easiest to take the whole bracket out rather than trying to work inside the housing. You'll be able to see what you're doing, and you won't mark the inside walls.
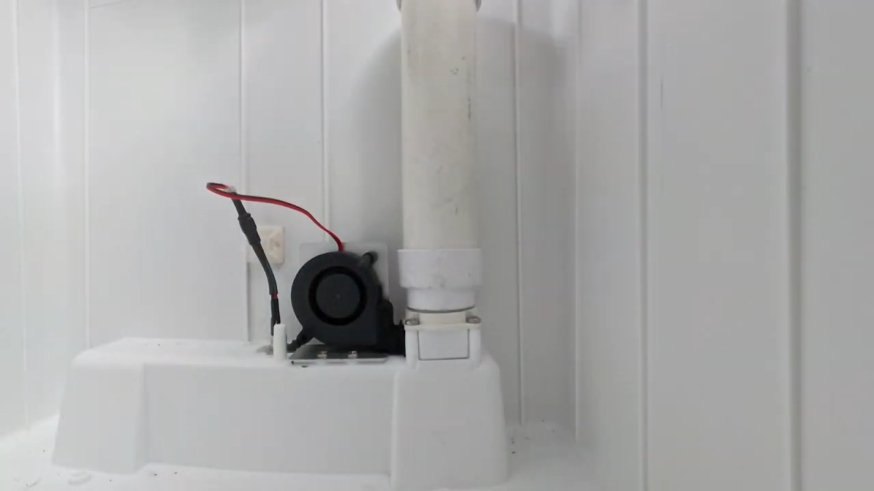
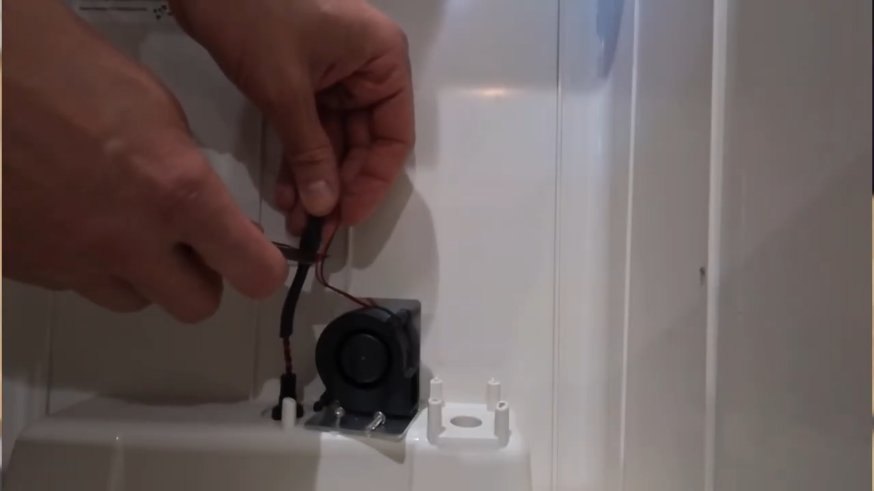
- Disconnect the old fan: Unplug the fan from the power input.
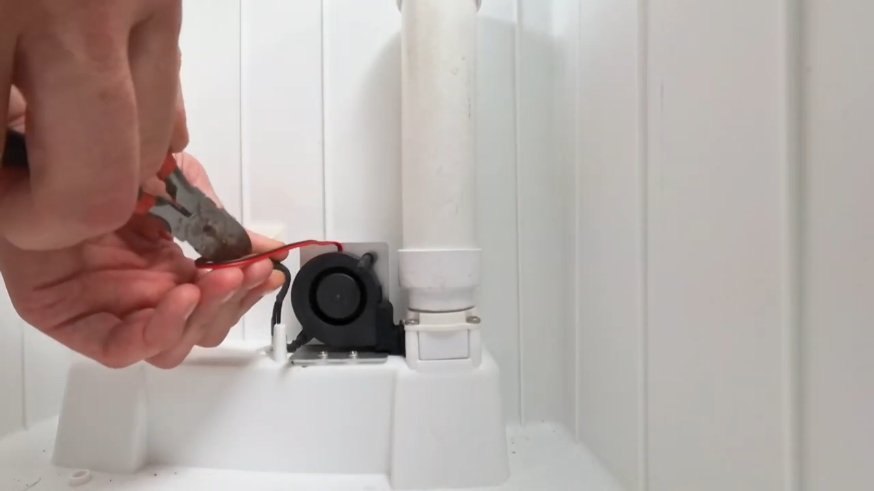
- Cut the cable tie: Use your wire cutters or a sharp knife. Be careful to cut only the cable tie. If you cut the main power wire, the whole harness will need replacing.
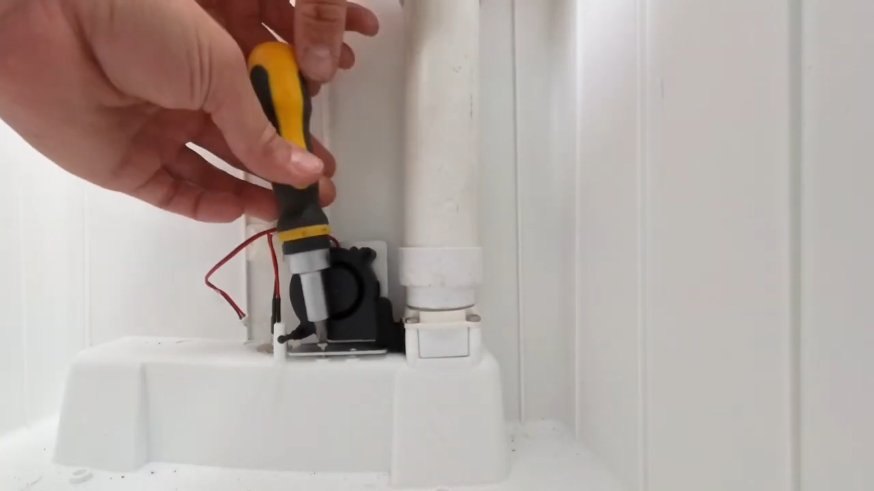
- Remove the bracket: Use your Phillips #2 screwdriver to remove the two screws holding the fan bracket. The fan duct may come loose or fall out when the bracket comes off. This is normal, and you'll put it back shortly.
- Take the fan off the bracket: Remove any old tape or adhesive residue while you're there. The new fan needs to sit flush against the bracket, or you can get air leaks and vibration.
How to Fit the New Fan
The new fasteners are longer than the originals. They're vibration dampeners, and they stop the humming sound you might otherwise notice at night.
- Remove the old fasteners: Pull the original, shorter fasteners out of the back of the bracket. You won't need them again.
- Insert the new fasteners: Seat the new, longer fasteners in the bracket.
- Mount the fan: Push the new fan onto the fasteners until it's firmly seated.
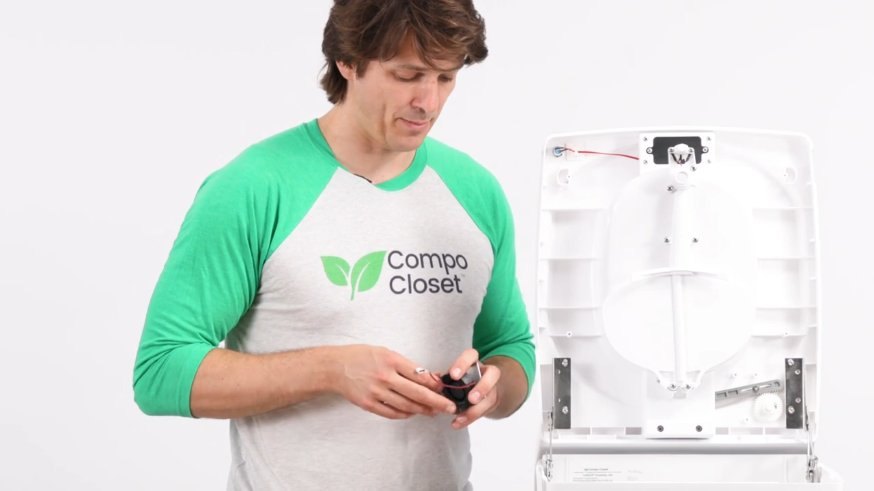
- Put the assembly back: Reposition the fan duct and hold it in place under the filter or within the housing. Place the fan assembly back in the unit, making sure the fan sits properly in the duct and the screw holes line up. Screw the bracket back on with the original screws, keeping the duct in position as you go.
How to Reconnect and Seal the Wiring
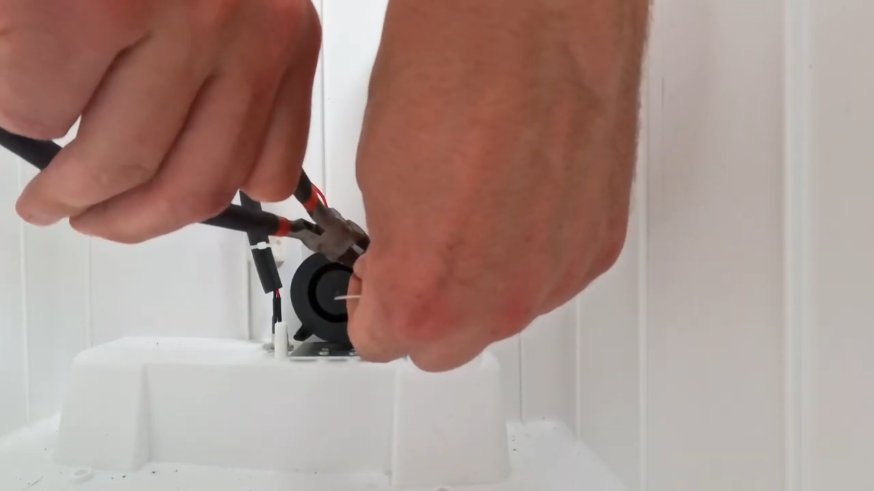
- Slide the tubing on first: Put the heat shrink tubing over the fan cable before you make the connection.
- Connect: Plug the fan cable into the power input.
- Cover the connection: Slide the tubing along so it completely covers the connection point.
- Shrink the tubing: Use your heat gun or long-armed lighter until the tubing forms a tight seal.
We recommend a long-armed lighter over matches. It keeps your hand well away from the heat.
Finishing Up
- Secure the wiring: Use the replacement cable tie to fix the wiring to the back wall of the unit.
- Trim the cable tie: Cut off the extra length.
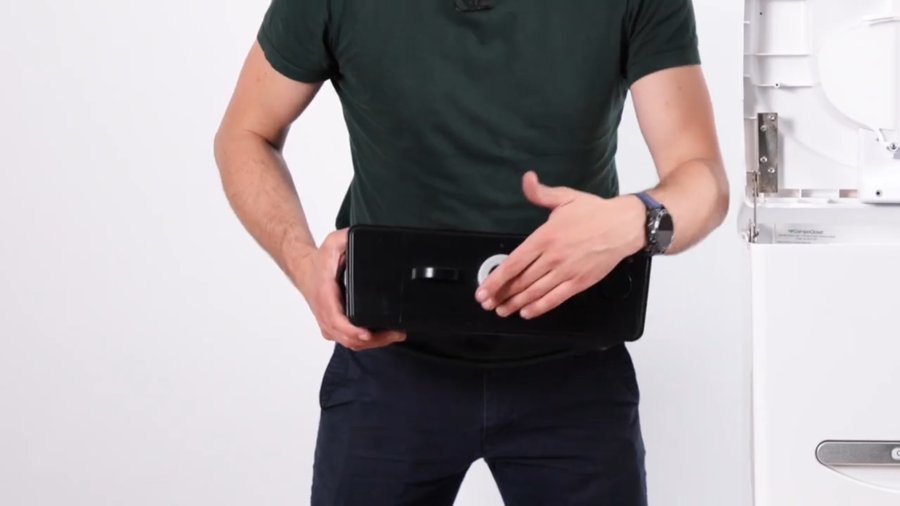
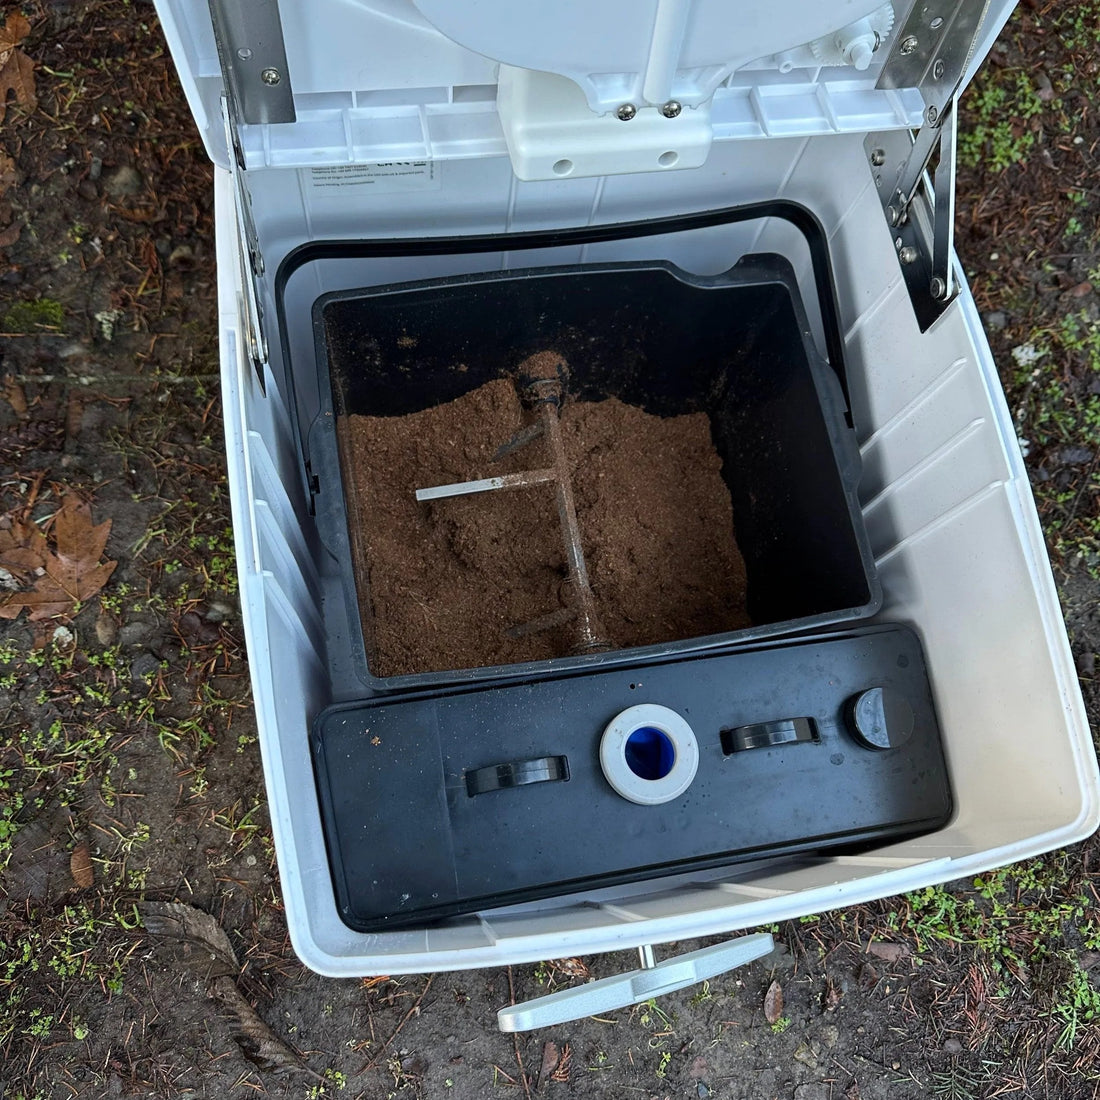
- Trim the fan fasteners: The barbs are the ridges along each plastic fastener. Trim both fasteners flush against the second barb. That keeps them secure and leaves enough room for the solids bin to slide in and out without snagging.
- Clear up: Recycle the old fan as electronic waste. The old fasteners and cable tie scraps can go in the bin.
That's it! Your Cuddy is back to moving air the way it should.
Stuck on any of the steps? Contact us and we'll talk you through it.