How to Install the Venting Carbon Filter in Cuddy or Cuddy Lite
In short
The Venting Carbon Filter replaces Cuddy's standard fan and filter for better odour control and more airflow, and you can fit it yourself in Cuddy or Cuddy Lite. Remove the old fan bracket and filter stand, keep the old power lead, then mount the new bracket, stand and filter and seal the connection with heat shrink tubing. Its "garage door" switches between internal recirculation (UP) and external venting (DOWN).
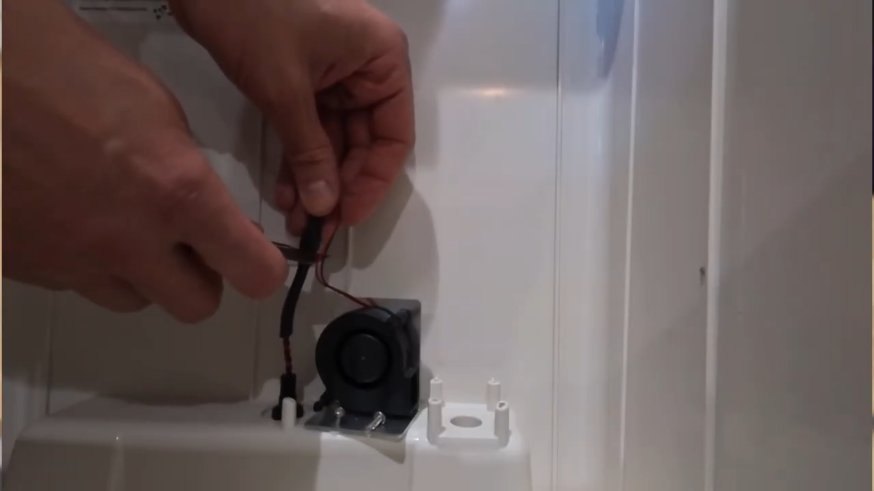
Thinking about upgrading your Cuddy or Cuddy Lite with the Venting Carbon Filter? Cuddy's standard fan and filter do a solid job, and this upgrade gives you better odour control and more airflow. You can fit it yourself, and you can choose whether to vent back into the room or outside.
Not sure which venting setup is right for you? Have a look at our venting options for Cuddy first.
What You'll Need
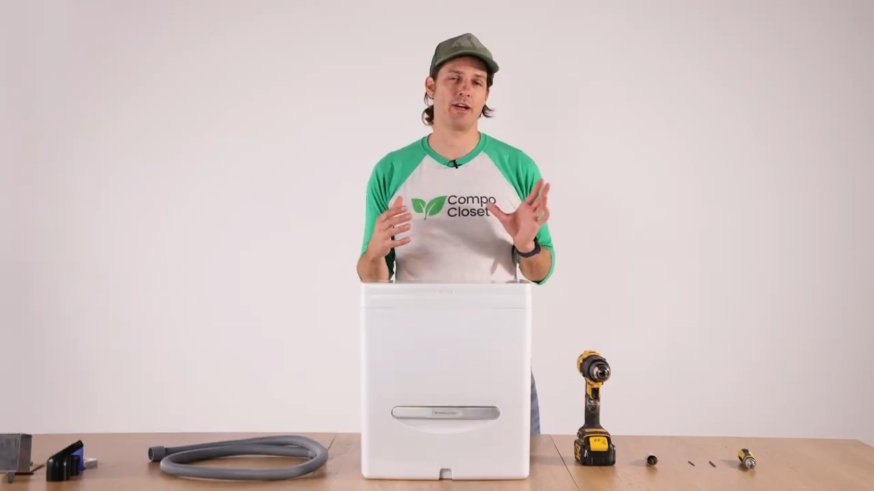
Tools:
- Phillips or T20 screwdriver
- Sharp knife or wire cutters
- Flat screwdriver (for prying and adjusting)
- Heat source: a heat gun or a long gas lighter
In the kit:
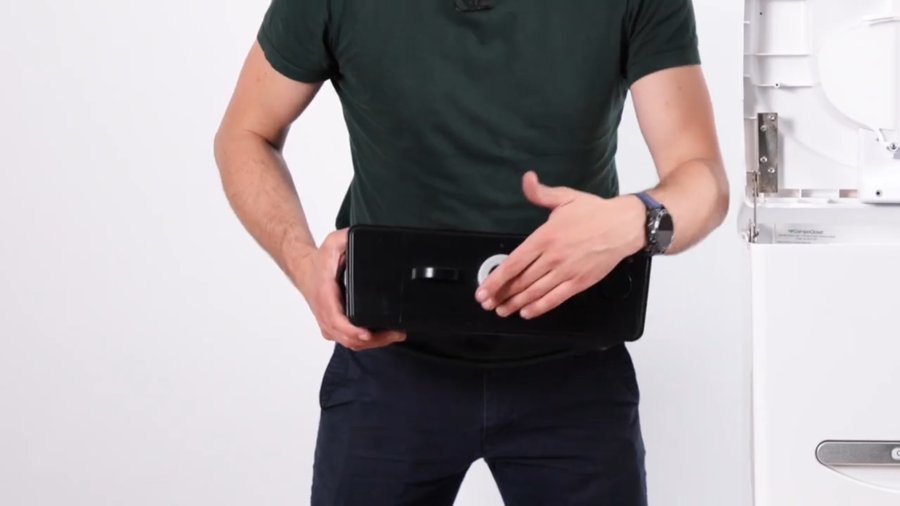
- Venting Carbon Filter (with built-in fan)
- Mounting bracket
- Support stand with "garage door"
- Fly screen and vent plug
- Replacement heat shrink tubing and cable tie
A heat gun is ideal for the heat shrink tubing, but a long gas lighter (the kind you'd use for a barbecue) works well in the tight space inside the unit.
How to Remove the Old Fan and Filter Stand
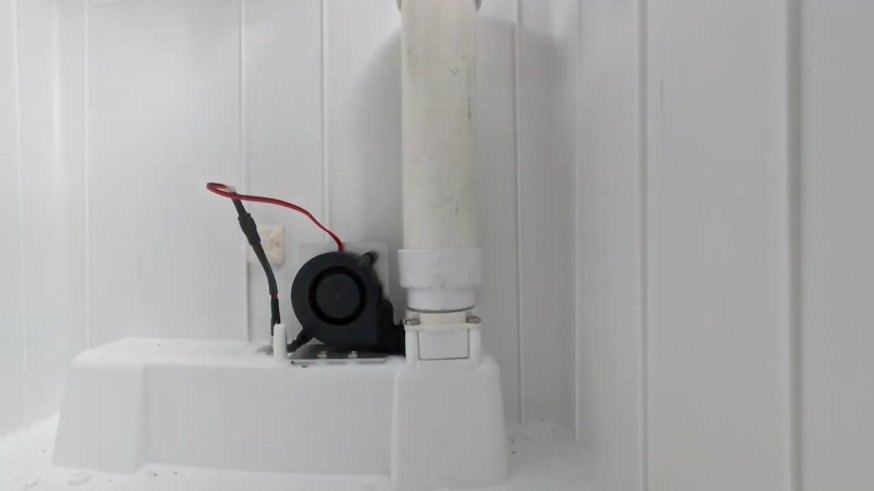
- Remove the fan bracket: Disconnect Cuddy from its power source first. Then use your screwdriver to detach the existing fan bracket from the interior wall.
- Keep the screws: Don't throw them away! You'll need them to fit the new parts.
- Take out the internal filter stand: Remove the stand the original carbon filter sat on.
How to Disconnect the Old Fan
The old fan's connector is covered by heat shrink tubing, which keeps the connection water-resistant and secure on bumpy roads. You need to free the connector so you can reuse the power lead for the new filter.
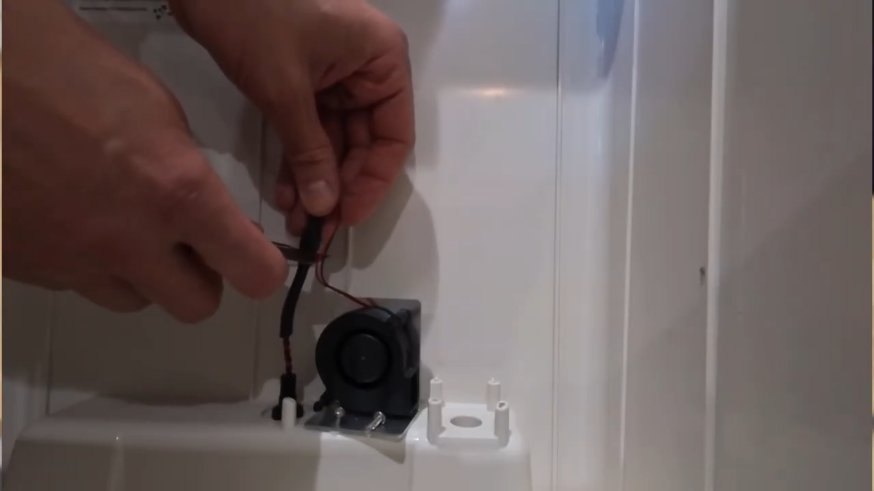
Using your knife or cutters, very carefully slit the old heat shrink tubing lengthwise. You only need to cut from the top down to the connector, then peel it away.
You're throwing away the old fan, but keep the wire and connector that lead back to the power source.
Be careful not to nick the wires inside while you're cutting the tubing. This is the trickiest part of the job and it involves a sharp blade. If you're not comfortable doing it, ask someone to give you a hand.
How the Bracket and "Garage Door" Fit Together
The new setup has a "garage door" that controls where the air goes. Before you start, remove any shipping tape from the garage door.
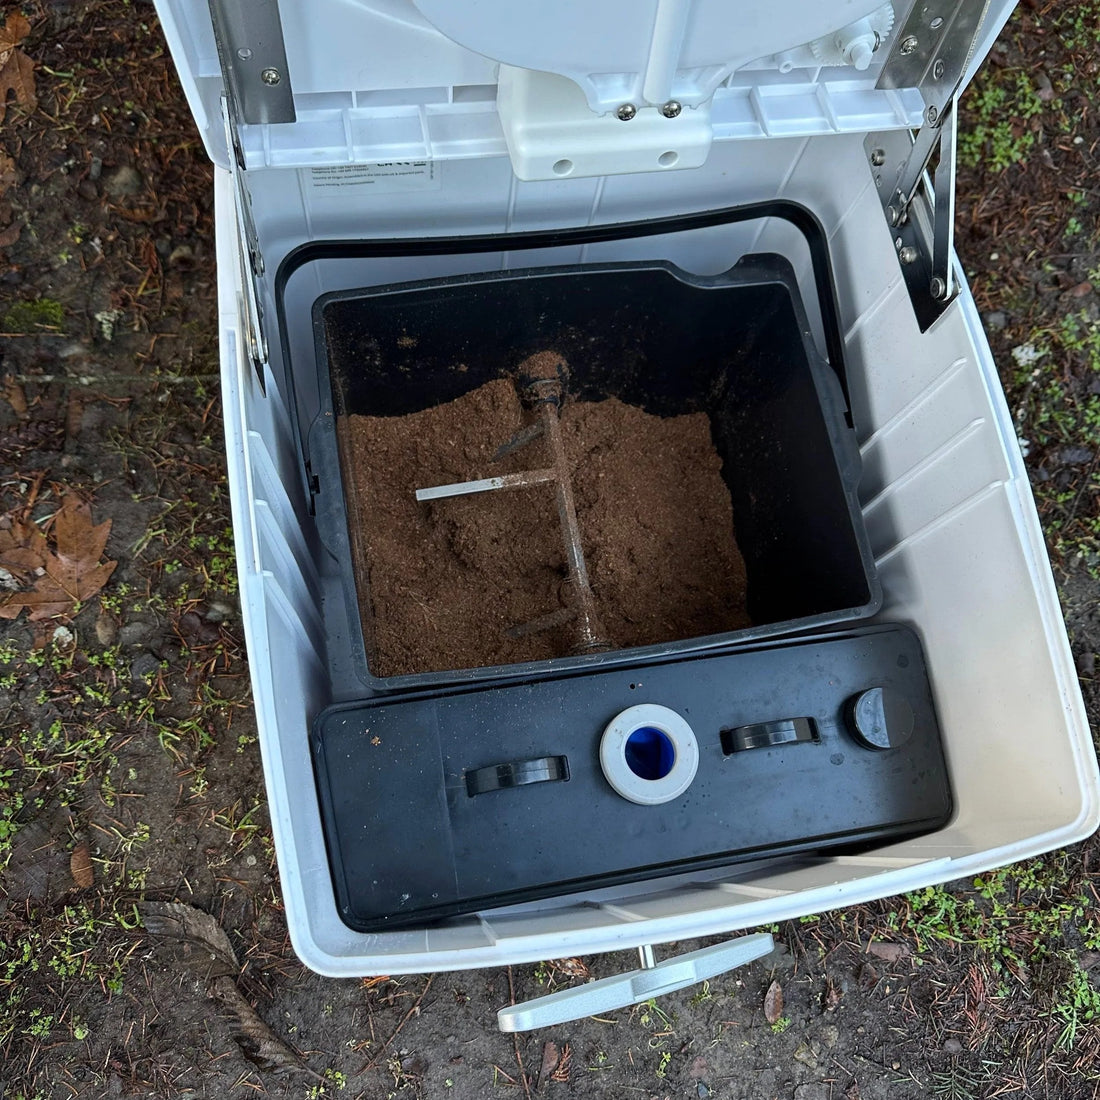
Take a look at the support stand. One side has a small gap. The other has a big gap with a ridge for the garage door clip.
The mounting bracket that holds the filter slides under the small gap of the support stand. That's what locks the two together.
The garage door has two positions:
- UP: Internal recirculation. Air is filtered, then released through the side of the vent back into the room.
- DOWN: Full external venting. This blocks the side exit and sends air out through the back of the unit.
How to Fit and Wire the New Filter
- Mount the support stand: Screw the support stand onto the back wall of your Cuddy or Cuddy Lite.
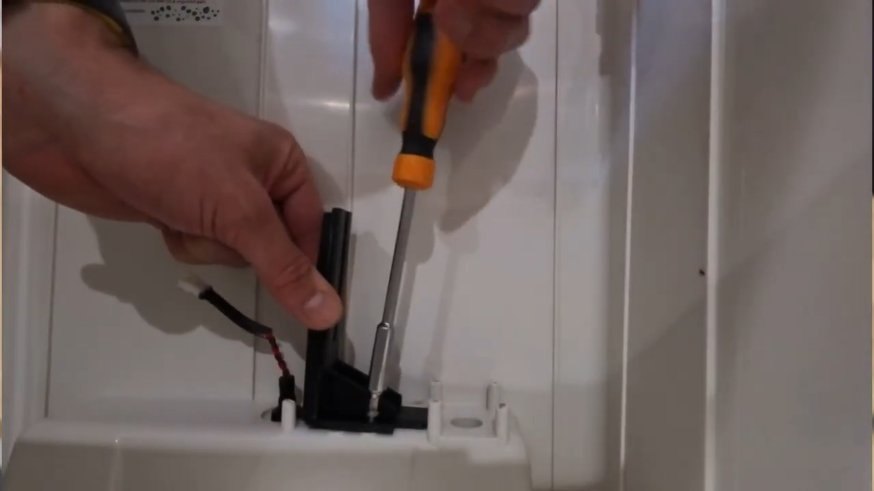
- Insert the fly screen: Slide the fly screen into place, tucking it slightly under the bracket you've just fitted.
- Position the filter stand: Place the stand (the one with the garage door) so the door faces away from the bracket. Clip the door into the UP position for now, then screw the stand down.
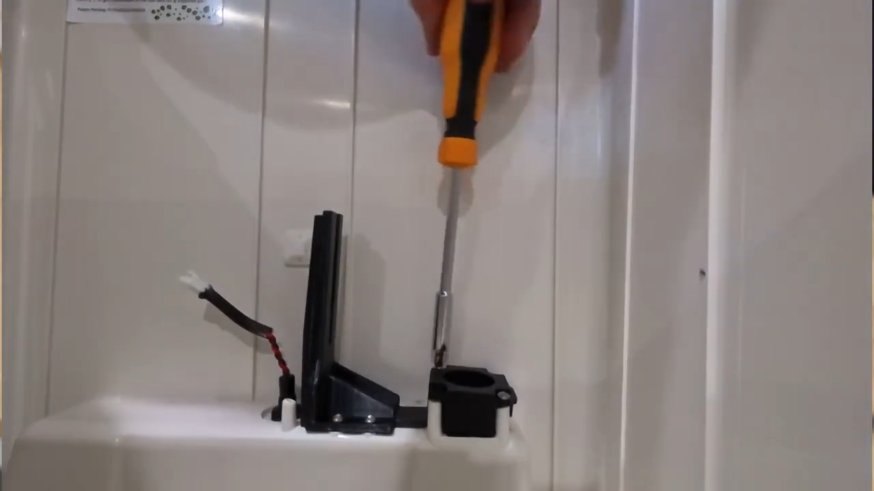
- Get the wiring ready: Slide the new piece of heat shrink tubing over the power cable lead.
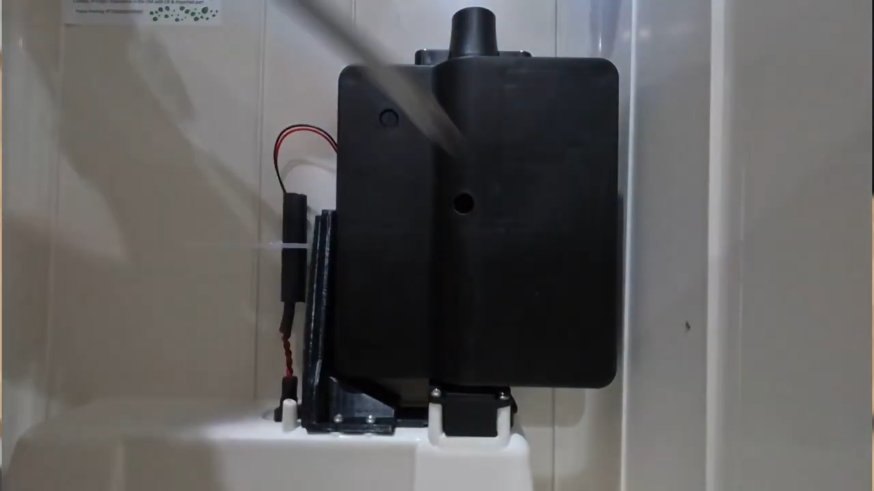
- Connect and secure: Slide your filter into the mounting bracket and into the little support stand. Connect the power cables, then slide the heat shrink tubing over the connection. Use the cable tie to secure the cable against the back wall.
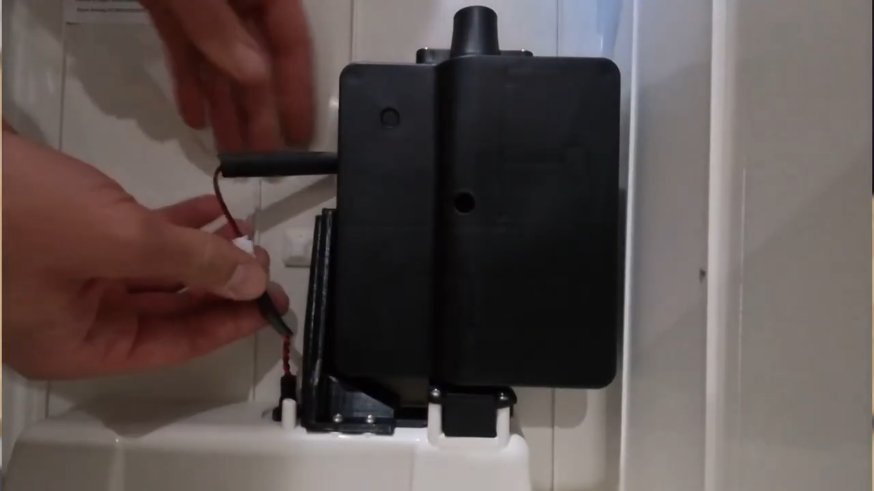
- Seal the connection: Heat the tubing until it shrinks tightly around the connector. This protects it from moisture and vibration.
Internal or External: How to Set Your Airflow
You can switch between two modes whenever you like.
Internal recirculation
If you're using your Cuddy for the first time, we recommend starting here for a few days while everything settles.
- Take the vent plug and, with the plug facing down, stretch the O-ring over the back of the unit to seal the external exit.
- Make sure the garage door is in the UP position. Air is pulled through the filter and exits through the side of the vent.
External venting
When you're ready to vent outside:
- Remove the vent plug from the back of the unit.
- Push the garage door DOWN. This can take firm pressure, and a flat screwdriver helps. Air now goes out through the back of the unit and into your external vent hose.
Either way, the air follows the same path. It's drawn in from the top, passes through the fan, travels through the activated carbon, and exits at the bottom.
One More Thing for Cuddy Lite
Cuddy Lite needs a power input and cable to run the fan. If you don't have these yet, they come with the Cuddy Lite Fan Add-on Kit. Make sure they're connected to your power source.
All Done!
Plug your Cuddy back in and your Venting Carbon Filter is ready to go. If you have any questions along the way, contact us and we'll be happy to help.