How to Test the Urine Indicator Light
In short
You can test the urine indicator light in under a minute using just the urine bottle. Turn the bottle upside down so the float carries its magnet to where it would sit if the bottle were full, then hold the front of the bottle against the sensor. If the LED comes on, the magnet and sensor are both working; if it doesn't, try a fresh 9V battery first.

Want to be sure your urine indicator light will tell you when the bottle is full? You can check it in under a minute, using nothing but the urine bottle itself.
How Does the Indicator Light Work?
The light is triggered by a magnet. Inside the urine bottle there are two parts doing the work:
- The plastic float: A lightweight float that rises as the bottle fills.
- The magnet: It sits on top of the float.
As the liquid level rises, the float carries the magnet up to the sensor, and the sensor switches the light on.
Tilt the bottle and you'll hear the float moving around inside. That sound tells you the float is moving freely and you're ready to test.
How to Test the Light
- Set the bottle down: Place the bottle on a flat surface with the cap on the right side. In this position, the float magnet is at the front of the bottle (the side facing you). The front is the side that needs to touch the sensor.
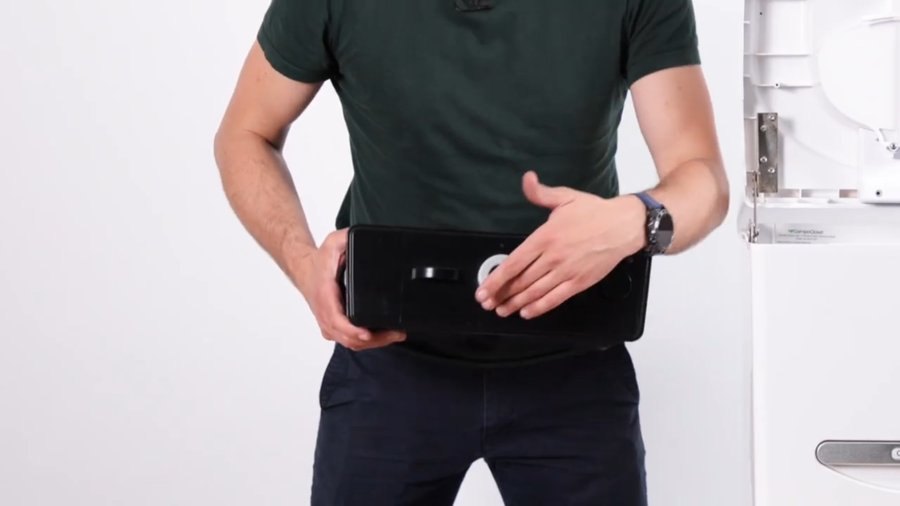
- Turn the bottle upside down: This moves the magnet to where it would be if the bottle were full. Listen for the float sliding toward the top of the upside-down bottle.
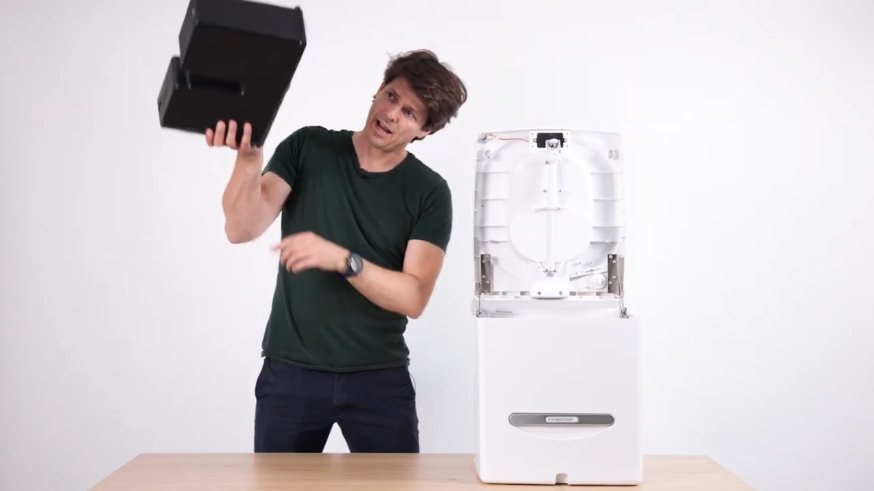
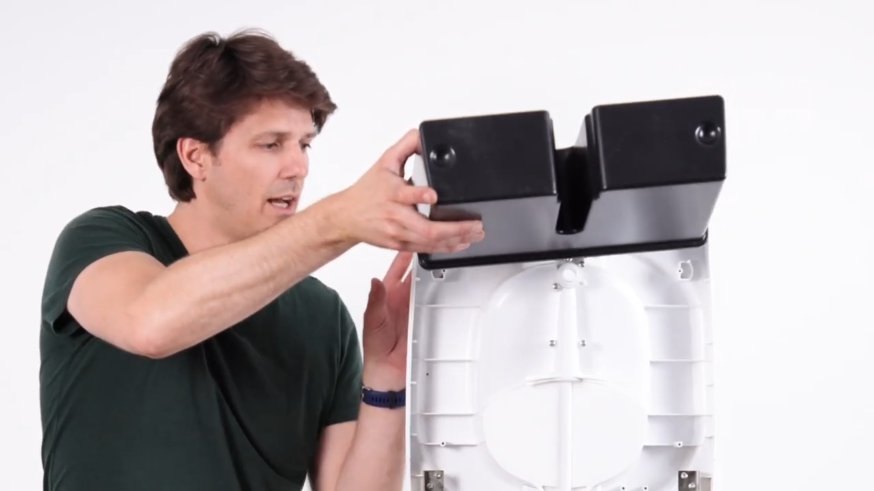
- Hold it against the sensor: Keeping the bottle upside down, hold the front of the bottle directly against the sensor unit.
What Should Happen?
The LED light should come on as soon as the upside-down bottle touches the sensor. If it does, the magnet and the sensor are both working and you're good to go.
If the Light Doesn't Come On
The light runs off a 9V battery, so a fresh battery is the first thing to try. Here's how to replace Cuddy's 9V battery.
Still no light? Contact us and we'll help you figure it out!